Optimising your images for the web
warning: outdated and very stupid. might update this sometime. read at your own risk
Web images are essential to the internet. Without them, you would just be looking at a whole big block of text. When used correctly, it can add that bit of theming or colour to an otherwise bland site. But sometimes, images may be too unoptimised. Take this button as an example:
Original resolution: 88x31
Looks nice, right? It's simple, but it tempts you to click it. So, what's the problem with it?
It's 11,062 bytes in size.

Original resolution: 816×158. Funnily enough, this optimised image is smaller than the button I just showed you
For comparison, my button is 1,614 bytes, which may not seem like a noticeable difference, but my button is about 14.6% smaller, despite it being a GIF, and not a PNG.
Update: mariomasta64 (the person I "borrowed" the buttons from) had followed this guide and updated their buttons to be smaller. Still, it is currently up for archival purposes.
Why do I care about this?
Data on the internet is sent as packets. Packets can range in size, but TCP packets can hold an absolute maximum of 65,536 bytes, but that absolute maximum may not be reached if, for example, using Ethernet, as that maximum transmission unit (MTU) size is a mere 1,500 bytes. This means, if recieving a 10kb file from a server through Ethernet, it must send at least 7 packets. If an image is unoptimised, that may cause more packets to be sent than nessecary.
File size is another issue. The free tier of neocities only allows 1GB storage and 200GB bandwidth. This may seem trivial, but if your website is close to hitting that limit, then you would either need to pay a monthly fee of $5 (which you probably should do if you want to help keep the service up and running) or you would need to optimise your content, like HTML pages, CSS files, JavaScript and especially images.
With that out of the way, I'll show you how I compress images on this site, as well as size comparisons with the images
Optimising web images, the easy way
The best option for basic users is to use an application like ImageOptim (Only for Macs). This application uses multiple optimisation tools to squeeze every last byte of data out of any PNG, JPEG, GIF or SVG file, either losslessly or lossily, and it's as simple as dragging and dropping. Simple, right? However, there's a catch: The application only works on MacOS. The ImageOptim website links to alternatives for systems not running MacOS, like Trimage for Unix-like systems, but if your main concern is simply to optimise images in an easy to use way, then I recommend using ImageOptim, or any alternatives. You can stop reading here. Otherwise, read on.
Optimising PNGs
For PNGs, I personally use oxipng. As an example, I will use the above button. The first thing we can do is use the -o max flag to find the best PNG optimisation technique and apply it to the PNG.
Command:
oxipng -o max -v input.png
Note: the -v flag shown in the above code and below examples adds additional information to the terminal output and, as such, does not affect the image in any way, shape or form.
Output:
Processing: good_logo_opt.png
  88x31 pixels, PNG format
  8-bit RGB + Alpha, non-interlaced
  IDAT size = 10954 bytes
  File size = 11062 bytes
Reducing image to 8-bit Indexed (8 colors), non-interlaced
Trying: 10 filters
Found better combination:
  zc = 12 f = None  228 bytes
Removing bKGD chunk as it no longer matches the image data
  IDAT size = 228 bytes (10726 bytes decrease)
  file size = 342 bytes (10720 bytes = 96.91% decrease)
342 bytes (96.91% smaller): good_logo_opt.png
Original resolution: 88x31. File size: 342 bytes
As you can see, this is a huge reduction from 11kb. Apparently, most of the data was stored in the IDAT. Still, we can shrink the size further by using the following 2 options below:
--strip safeor, alternatively,-s, which safely removing any metadata that may be deemed unnecessary. Alternatively, we can use--strip allwhich removes all metadata, keeping any that may be needed for PNGs to function correctly.-Z, which compresses the PNG with Zopfli compression.
Using the settings oxipng -o max --strip all -Z -v input.png, we can shrink the image to its smallest possible size losslessly.
Output:
Processing: good_logo_opt2.png
  88x31 pixels, PNG format
  8-bit RGB + Alpha, non-interlaced
  IDAT size = 10954 bytes
  File size = 11062 bytes
Reducing image to 8-bit Indexed (8 colors), non-interlaced
Trying: 10 filters
Found better combination:
  zc = zopfli f = None  225 bytes
  IDAT size = 225 bytes (10729 bytes decrease)
  file size = 318 bytes (10744 bytes = 97.13% decrease)
318 bytes (97.13% smaller): good_logo_opt2.png
Original resolution: 88x31. File size: 318 bytes
The image is now just under 2.9% of its original size while still looking as crisp as it was originally. Now, let's move on to GIFs.
Optimising Gifs (and converting them to PNGs)
I use gifsicle for GIFs. The only command you need to know is gifsicle -i input.gif -O3 -o output.gif. For example, this gif:

Original resolution: 88x31. File size: 15,102 bytes
can be optimised, using the above command, to:

Original resolution: 88x31. File size: 14,255 bytes
However, GIF is a rather old format, being last updated in 1989. Along with other limitations, like weaker compression and less colours, this means that GIFs are much larger than PNGs, so why do people still use GIF?
It's because GIF supports animations. Luckily, a newer format seems to be a worthy replacement, and it's none other than PNGs!
"...wait, PNGs? But PNGs don't support animation," I possibly may hear you cry. Well, you would be right if it wasn't for the fact that APNGs (Animated Portable Network Graphics) exist and works on most major web browsers! However, there are still a few problems with using APNGs instead of GIFs:
- APNG is less compatible with older web browsers than GIF (Chromium only added support for it in 2017).
- Even now, software support is still somewhat lacking (even Windows 11 cannot display APNGs, only showing the first frame)
- It is important to note that APNG is an unofficial extension to PNG
If you understand what you're getting into, then read on.
To convert GIFs to APNGs, I use this ffmpeg command:
ffmpeg -i input.gif -f apng -plays 0 output.pngNote: use -plays 0 to have a looping animation, since the default (-plays 0) only plays once.
Original resolution: 88x31. File size: 16,030 bytes
While we see the image is larger than the two previous GIFs, the advantage of using APNGs is that we can use oxipng again to optimise the PNG
Command:
oxipng -o max -s -Z -v input.png
Note: notice how I'm using -s instead of --strip all. That's because --strip all removes all metadata nnecessary for APNGs to animate, so keep that in mind when optimising APNGs
Output:
Processing: browser7_opt.png
  88x31 pixels, PNG format
  8-bit RGB + Alpha, non-interlaced
  IDAT size = 1005 bytes
  File size = 16030 bytes
APNG detected, disabling all reductions
Trying: 10 filters
Found better combination:
  zc = zopfli f = None  898 bytes
Recompressed fdAT #0 : 981 (74 bytes decrease)
Recompressed fdAT #5 : 764 (74 bytes decrease)
Recompressed fdAT #4 : 1065 (101 bytes decrease)
Recompressed fdAT #3 : 1224 (108 bytes decrease)
Recompressed fdAT #6 : 389 (43 bytes decrease)
Recompressed fdAT #8 : 500 (54 bytes decrease)
Recompressed fdAT #1 : 989 (95 bytes decrease)
Recompressed fdAT #2 : 1092 (97 bytes decrease)
Recompressed fdAT #14: 1046 (109 bytes decrease)
Recompressed fdAT #12: 990 (120 bytes decrease)
Recompressed fdAT #13: 1101 (124 bytes decrease)
Recompressed fdAT #10: 930 (112 bytes decrease)
Recompressed fdAT #9 : 696 (81 bytes decrease)
Recompressed fdAT #7 : 321 (43 bytes decrease)
Recompressed fdAT #11: 949 (121 bytes decrease)
Recompressed fdAT #15: 1052 (95 bytes decrease)
  IDAT size = 898 bytes (107 bytes decrease)
  file size = 14472 bytes (1558 bytes = 9.72% decrease)
14472 bytes (9.72% smaller): browser7_opt.png
Original resolution: 88x31. File size: 14,472 bytes
Strangely enough, the optimised APNG is still larger than the optimised GIF. Unless...
Using EZGif's 'PNG Optimizer', we can shrink the file even further.
Original resolution: 88x31. File size: 11,327 bytes
Now our animated PNG is smaller than our gifsicle-optimised GIF! But surely, we can do better, right?
oxipng, while good enough, isn't perfect when it comes to APNGs. Mariomasta64 said to consider using apngopt to optimise APNG files since I'm already recommending using command line tools. So, I downloaded the program from SourceForge to install on my MacBook Pro (as brew doesn't have the program in its repository), used this command, which compresses the APNG with Zopfli and iterates 30 times:
apngopt -z2 -i30 input.png output.pngand did a bit of testing...
Original resolution: 88x31. File size: 11,068 bytes
Now it looks like we're getting smaller files without the need for an online tool. So, if you decide that you don't want a 35-year-old format for your animations and are absolutely sure you only wish to target the most bleeding-edge of web browsers available, then at least you've got options.
Loading APNGs when needed
APNGs can be rather effective as an animated format, but, and I'll say it again, it only works on modern browsers. But what if we loaded an APNG only if the browser supports it, and load GIF as a fallback? Well, with HTML, anything is possible!
Note: many things are not possible in HTML.
For testing, I will be using these images below to output whether the loaded image is an APNG or a GIF.


For demonstration purposes, both of the images above are GIFs
I will utilise this line of HTML code, which basically loads the image as an APNG if the browser supports those types of images:
<object data="animation.png" type="image/apng">
  <object data="animation.gif" type="image/gif">
    This image cannot load on this browser
  </object>
</object>
Note: To be compliant with HTML4.01, I edited the code to work to work with <object> tags. However, I'm leaving the original code below for archival purposes. Just remember that this only works on HTML5.
<picture>
  <source srcset=animation.png type=image/apng>
  <img src=animation.gif type=image/gif>
</picture>
Together with a Chromebook installed with Arch Linux running an Apache web server and multiple devices with internet capabilities, I will be able to compare the images the devices load.
Note: All images displayed below are PNGs.

First, a browser that supports APNG (Firefox 122 on MacOS Sonoma)
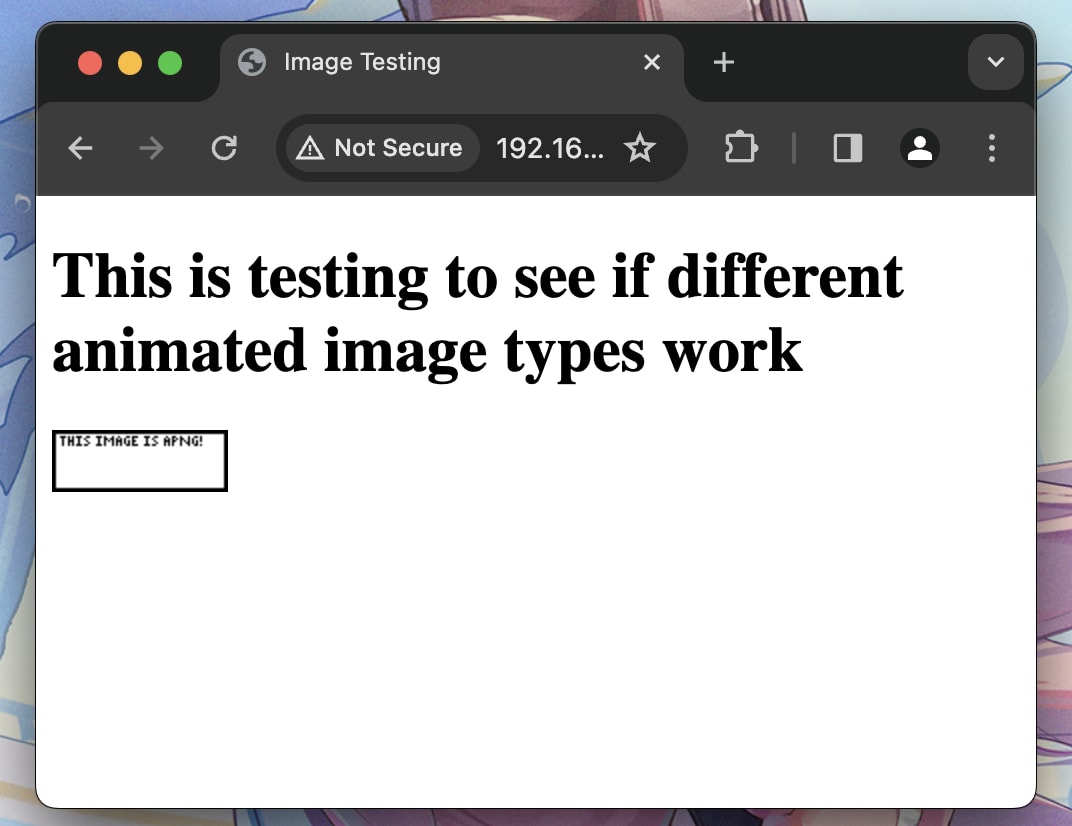
Second, another browser that supports APNG (Chrome 121 on MacOS Sonoma)
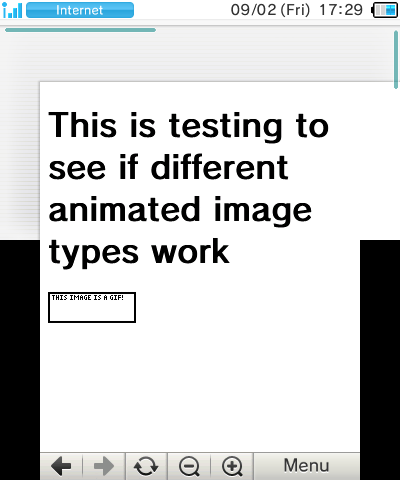
Then, a browser that doesn't supports APNG and displays it as a GIF (Nintendo 3DS Browser)
After that, another that displays it as a GIF (PSP Browser running on a PS Vita, as the only PSP I own is a crummy 'Street' model)
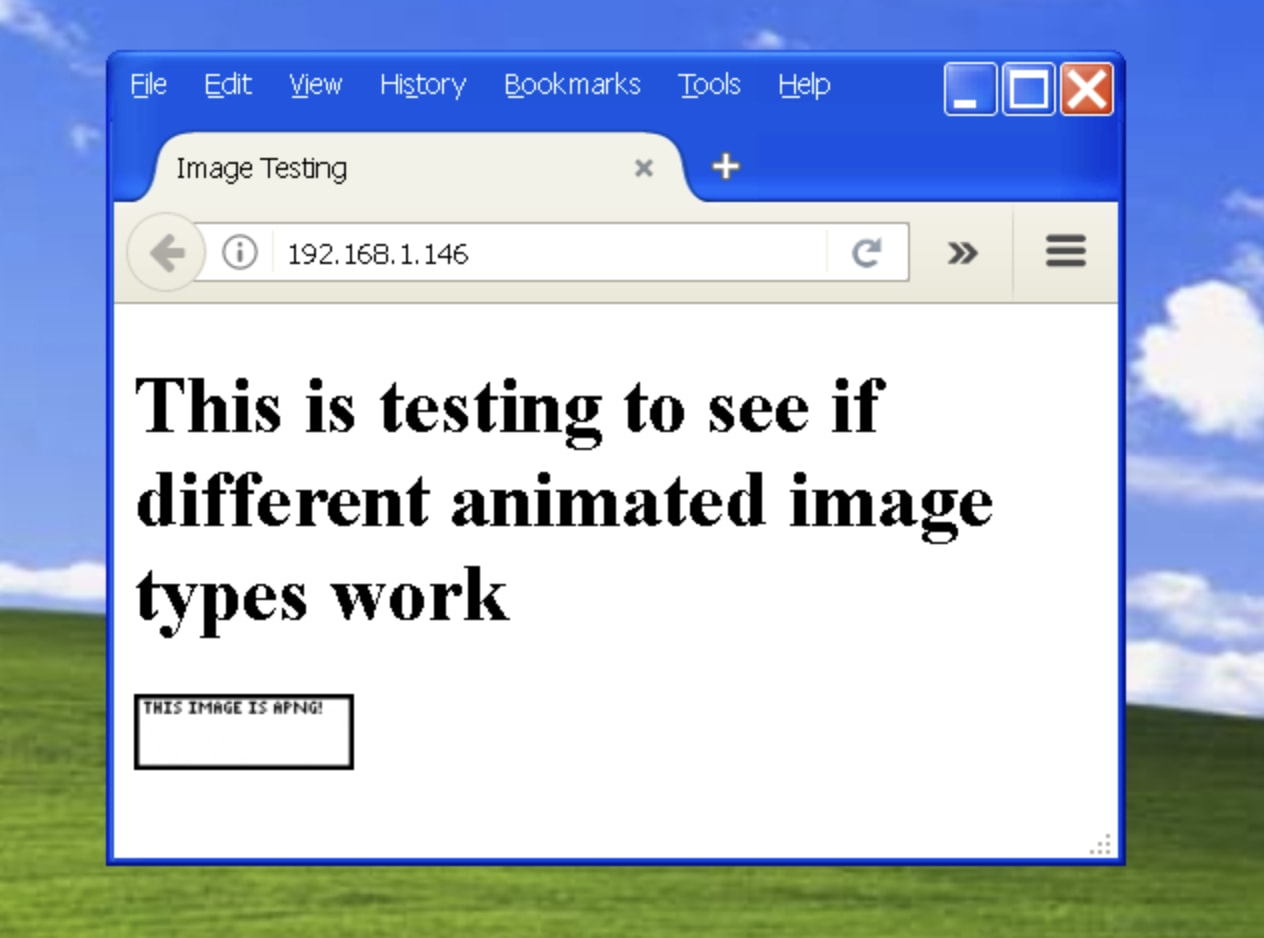
And finally, three images of Windows XP SP3 (running on the MacBook via UTM) running the page on Firefox 52.9 ESR (which supports and displays APNGs)...
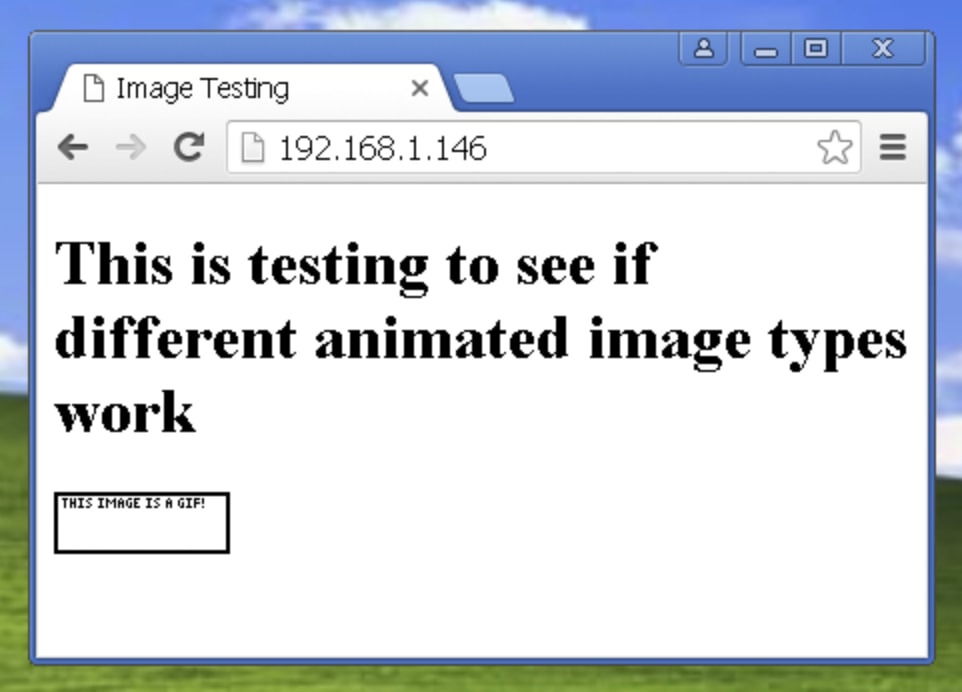
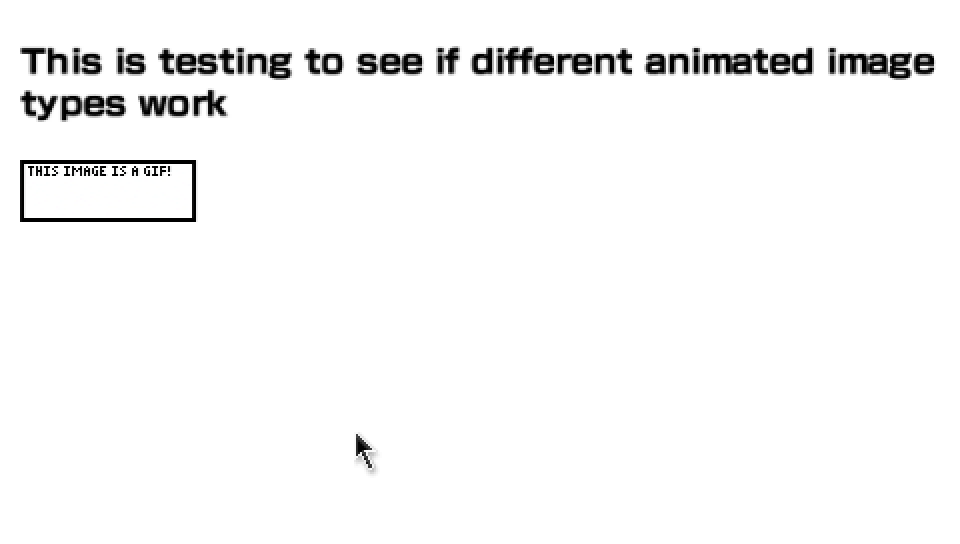
...on Chrome 49 (which doesn't support APNGs)...
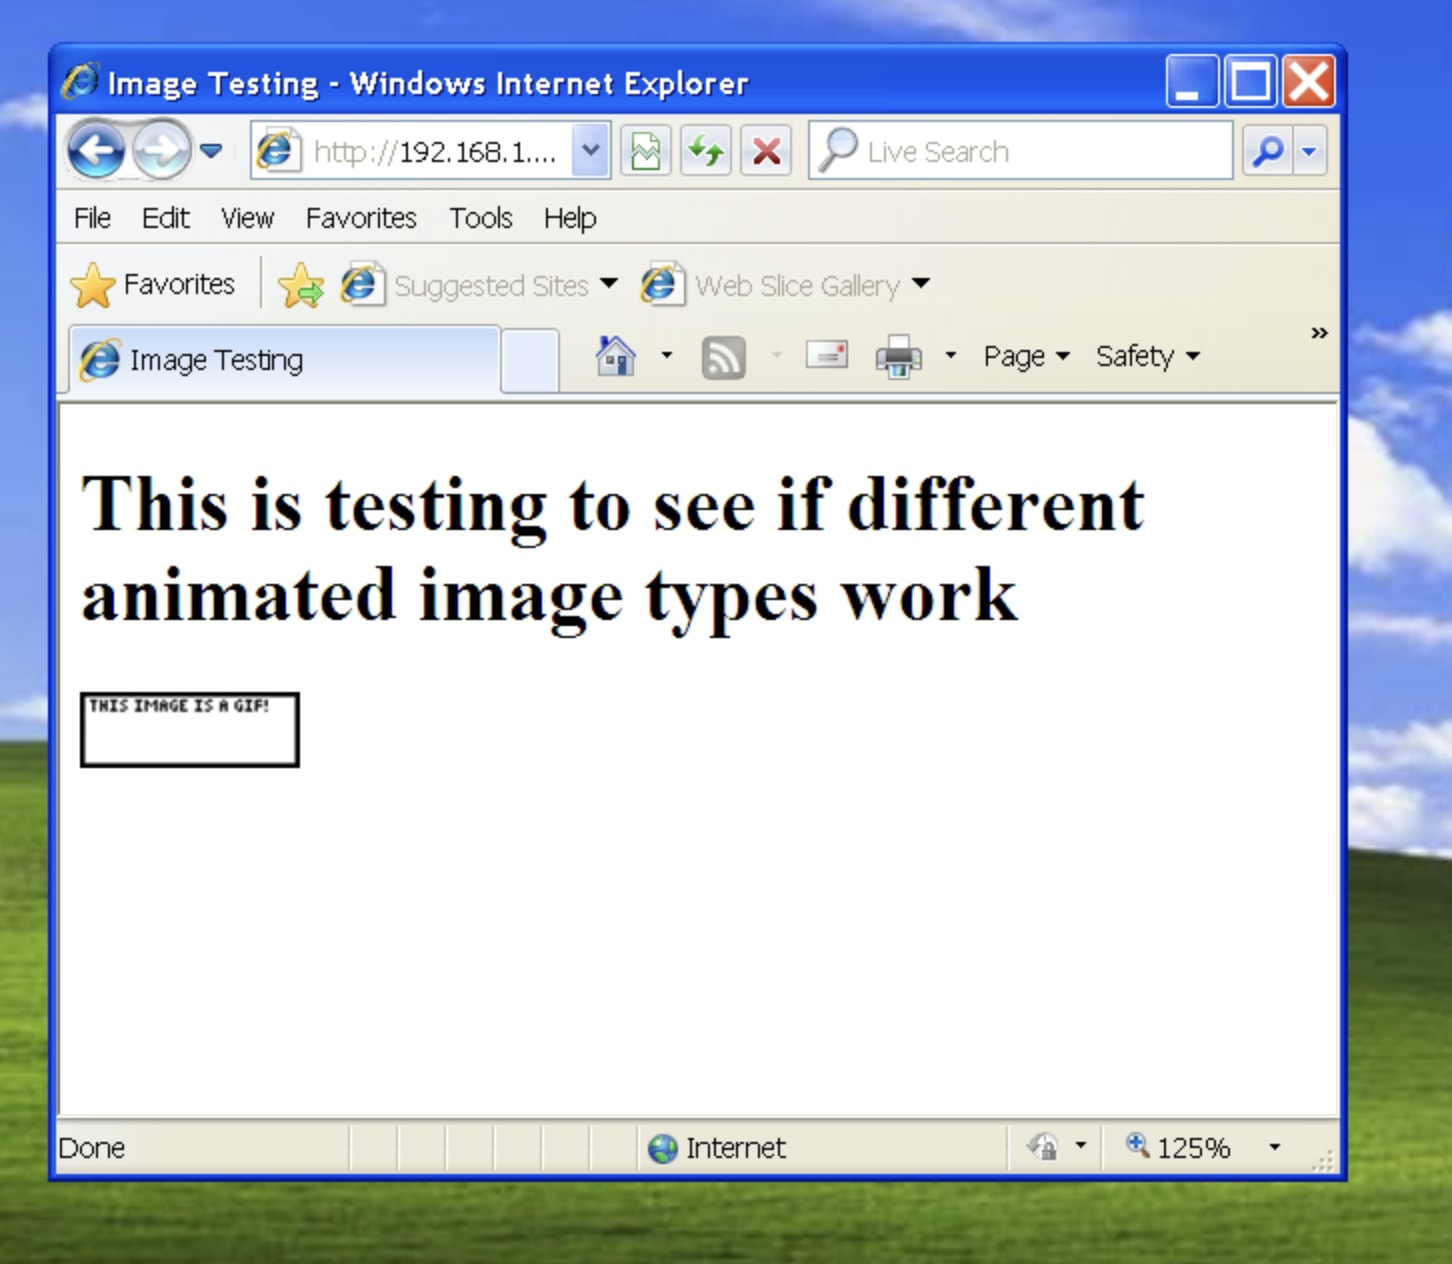
...and on Internet Explorer 8 (only done this for the funny)
From testing a small variety of browsers, it seems that the code seems to work pretty well, and while it does use tags that were introduced with HTML5 (those being <picture> and <source>), those seem to get ignored by browsers running HTML4.01 and displays the GIF version of the image. Besides, most browsers that don't support HTML5 may not support APNG, with the only notable exception being Firefox.
End of the page
The moral of the story: clean out your IDATs.
I don't know how to properly end off this page.
Special thanks to mariomasta64 for any additional information giventodo: possibly rewrite this page or something idk


